Wednesday, March 03, 2010

seriously intense cocoa nib brownies

One of the easiest things to bake are brownies. I've always used the recipe from Moosewood Restaurant Cooks at Home since it always provides seriously awesome results. In fact, it's actually foolproof – I know because I've totally goofed the recipe and even with insane screw-ups, they've always turned out delicious.

A few weeks ago, I started seeing Smitten Kitchen's cocoa brownies floating around and decided to take a peek. The recipe itself is very similar to the Moosewood version, so I decided that I'd pass by the SK version (since it required extra steps including the use of a bain marie) and just tweak my old standby to push the chocolate-intensity to the max. Not only did I add in cocoa (actually a half and half blend of some regular cocoa and some fancy extra-black cocoa from France) but I also threw in some cocoa nibs to boot.

The results were amazing! Dark, fudgy and rich and, like the old standby, so easy to put everything together. One pot and one baking dish. No need to dirty up a bowl. I did add a heaping amount of salt because I knew the salt would help to up the complexity of the flavours - but it you don't like your salt with your sweets, just level your measurement instead. These are perfect to people who are allergic to nuts since the crunch factor comes from the cocoa nibs. Forget about frosting them as they are pretty rich on their own....but they do go well with a scoop of vanilla bean ice cream. You know, just saying.


seriously intense cocoa nib brownies
1/2 c unsalted butter
1 c sugar
1/3 c cocoa powder
2 squares of unsweetened baking chocolate
1/4 t (heaping) kosher salt
1/2 t vanilla extract
2 large eggs
1/2 c all-purpose flour
1/2 c cocoa nibs

1. Preheat oven to 325°F. Line an 8x8 glass baking dish with parchment paper (bottom and sides), leaving an overhang of paper to help lift the brownies out when they're done baking.

2. In a small saucepan over medium heat, melt together the butter, sugar, cocoa, unsweetened baker's chocolate and salt. Stir often to make sure that everything is melting properly. Remove from heat and stir in the vanilla. Let the mixture cool for about 5 minutes.

3. In a separate bowl, beat the eggs together. Quickly pour the eggs into the chocolate mixture and start beating the eggs vigorously so they don't end up scrambled. After your arm starts fatiguing, stir in the flour until it's just mixed. Gently stir in the cocoa nibs. Pour the mixture into your lined baking dish, smoothing out the top.

4. Bake for about 25-35 minutes or until a cake tester comes out relatively clean from the center. Let cool on a wire rack. When cool, lift the brownies onto a cutting board and cut into squares.

Labels: , , ,

Friday, August 14, 2009

the easiest cake ever

Yes, another vacation post, but this is a good one! Earlier this spring I made a very simple and very delicious strawberry cake. A few weeks later, I made another. I was looking to make a very simple and quick cake for company and after an internet search, I found myself looking at this recipe. It was called the easiest cake ever, so really how can you go wrong? If you think that easy means that it also skimps on taste, you are dead wrong. This cake is delicious! I used strawberries because it was the end of May and ripe local berries were in season. But this cake would be delicious with blackberries, boysenberries, raspberries, nectarines, peaches and even plums! It requires only 1 bowl so the clean up is easy too. Really, what are you waiting for?


easiest cake ever
(adapted from Not Derby Pie)
1 c flour
1 t baking powder
zest of 1 lemon
3/4 c sugar
2 eggs
1/2 c canola oil
1 t vanilla
1 1/2 c strawberries (or any soft fruit)
1 T raw sugar

Preheat oven to 350F. In a large bowl, combine the flour, baking powder, and lemon zest. Add in the sugar, eggs, vanilla and oil and mix to combine. Butter and flour an 8 or 9 inch cake pan and add in batter. Batter will be quite thick, so use a spoon to smooth out the top. Drop in strawberries, pressing them into the batter. Sprinkle with raw sugar. Bake for 50 minutes to 1 hr or until a cake tester inserted comes out clean.

Labels: , , ,

Sunday, August 10, 2008

summer holiday: cannelli bean dip with lemon & rosemary

I'll be away for most of this week. We'll be bike touring/camping on the San Juan Islands in Washington State which are pretty much just a Southern continuation of Canada's Gulf Islands. It seems every 2 years we go on a bike trip, but I'm a bit nervous with this one. The main reason is that I'm so out of shape this summer, but I guess there is nothing like biking with all your camping gear, clothing and groceries strapped on your bike to kick-start your way to being active again! Also, ever since my nasty spill on Denman Island a two years ago, I'm pretty nervous biking downhill. I know, crazy, since downhill should be the funnest thing ever. Instead, I'd rather climb up a 13% grade hill than ride down it. Luckily, Cornelius will be switching out my old brake pads on my bike for new ones and installing my brand-spanking new tires, so I should be a bit more confident riding the hilly San Juan islands. Wish me luck!

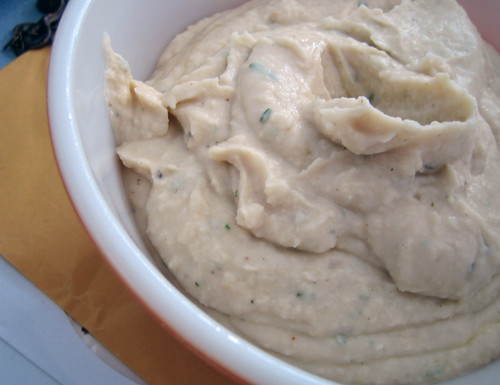
In the meantime, why not snack on some delicious protein. This bean dip is very similar to one I've made before with cannelli beans, parlsey and oregano, but this time I've swapped in my favorite herb...rosemary. It's a very flavourful dip filled with lemon, garlic and fresh rosemary and it's a perfect no-cook lunch on those hot summer days. I've made this several times this summer and I'm not sick of it yet. Use it as a dip to eat with pita, chips or crackers or spread onto some bread and use it as a base for your favorite veggie sandwich. Enjoy!

cannelli bean dip with lemon & rosemary
1 can of cannelli beans, drained & rinsed
zest of 1 lemon
juice of 1/2 a lemon
2 cloves garlic, smashed
salt & pepper
2 sprigs of rosemary, leaves only (not stems)
1/4 c (or less) good olive oil
water

Blend everything using your blender, adding a bit of water in case things get too thick. Once it's smooth as silk, it's done. Taste and re-season if necessary.

Labels: , , , , , ,

Tuesday, February 19, 2008

my prince charming: bitter orange ice cream


I'm sure I've gushed again and again how much I love Sour. Sweet is nice, but sour is where it's at in my book. Soon after I started getting interested in food as more than just "what's for dinner" kind of thinking, I had heard about Seville oranges: the sourest of all oranges. It became a bit of a quest, my holy grail, to find a Seville orange. No matter where I looked, I couldn't find a trace of that sour orange. I searched in high-end markets in February (the month when Sevilles are supposedly in store) with no luck. But then last week, after walking down Main Street in search of a pretty skirt, I lucked into a unassuming Asian market where the sign "Marmalade Oranges" caught my eye. Yes, I had finally struck Seville gold!

So I bagged up nearly a dozen oranges and made my way over to the house of a nearby friend who is also a bit of a sour fiend. We cut open the orange and checked it over. It had a very thick rind and a huge amount of seeds, but the essence of orange was strong. We cut a small segment each and sucked on it, laughing at our puckered reactions! Holy Sour Nirvana!! While we quickly decided that the Seville orange isn't meant to be eaten out of hand, I started thinking up all kinds of things I could do with them. A great orangeade and a vinaigrette, for sure, but when I got home, I hopped on my computer and Google found the perfect recipe for me. Yes, another Nigella Lawson recipe with the enchanting (at least to me) name, Bitter Orange Ice Cream.

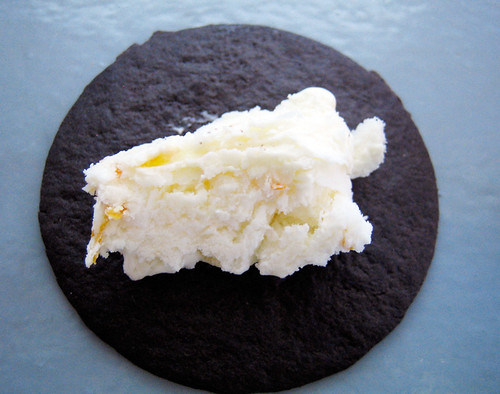
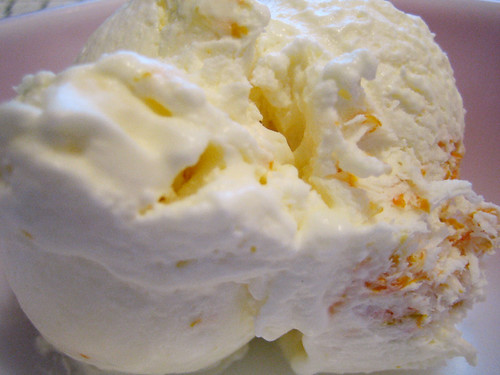
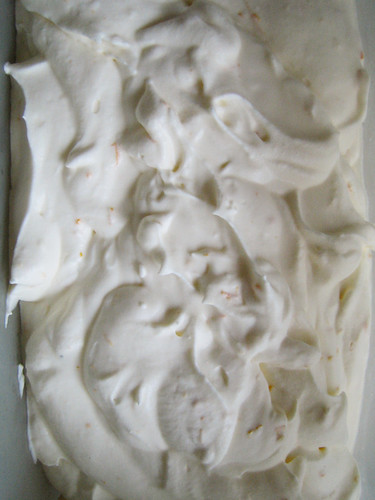
The best thing about this ice cream is that you don't need an ice-cream maker or any special stirring techniques. Nope, just whip it and freeze it and a few hours later you have creamy frozen goodness. While this certainly isn't traditional ice cream per se, it does scoop up nice into a firm little ball which is perfect for serving in a martini glass or in a dainty vintage sundae cup. If it were the season for fresh strawberries, I'd suggest eating it over a bowlful of those, but it is almost as nice to eat plain out of a bowl or atop a chocolate wafer.

This is a very rich dessert, so I'd suggest keeping serving sizes small but I certainly wouldn't be against walking by the freezer with a spoon in hand in case of ice cream emergencies. I didn't adjust or tweak the proportions in the original recipe one bit. It's perfect as it is with the nicest balance of sweet and sour. And if you don't have a Seville at hand, use 1 orange and 2 limes to make up the difference.

bitter orange ice cream
3 Seville oranges, or 1 navel orange and 2 limes
1 c + 2 T confectioners' sugar
2 1/2 c heavy cream

Zest and juice the oranges and place in a large metal bowl. Stir in sugar, mixing to melt. Add in heavy cream and whip until soft peaks form. Pour mixture into a lidded shallow container and freeze for at least 3-4 hours until firm. Remove from freezer and let stand for 15 minutes to soften slightly. Use an ice cream scoop to make small balls and serve over fruit salad or eat with chocolate wafers. Or just stroll by the freezer with a spoon and dig in.

Labels: , , , , ,