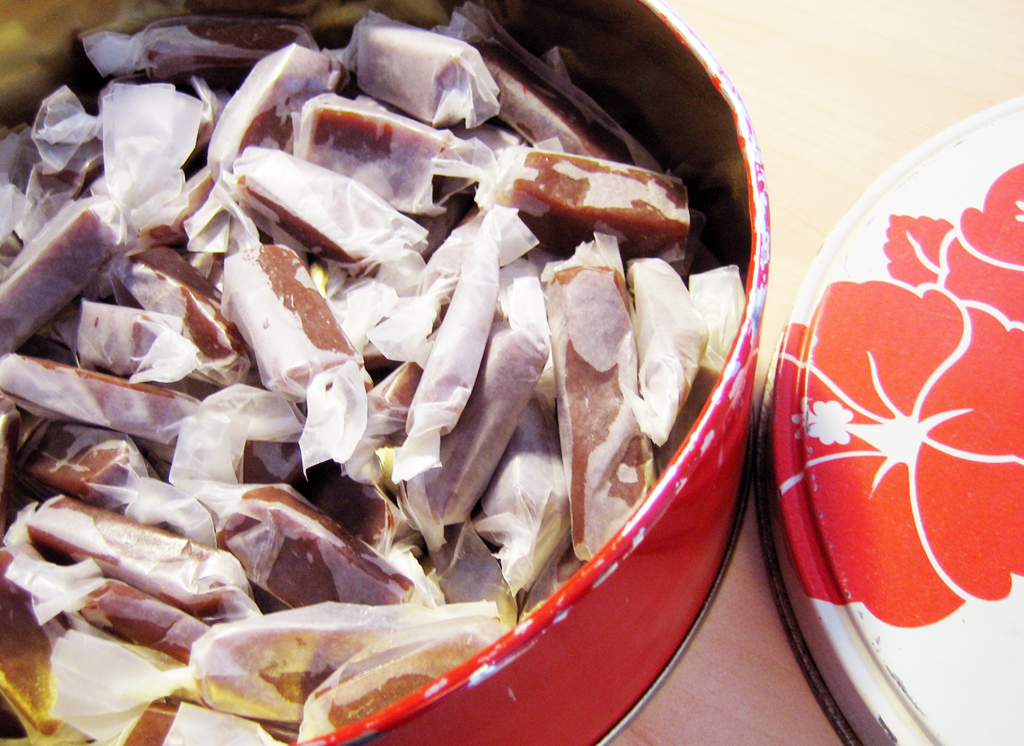
I live across the country from my parents, so visiting them requires a four hour flight and a 2 hour drive by car to get me to their doorstep. It's a trip that I take once a year or so and this time, I made sure that I was loaded up with some Christmas treats in order to celebrate the holidays family-style, a little earlier this year. The day before my flight was scheduled to leave, I had the bright idea to make caramels....and not just any caramels, but decadent fleur de sel caramels. I've never tackled candy-making before other than some simple fudge and
chocolate bark, so this seemed to be an adventure of epic proportions! The truth is, making candy scared me a whole lot. It seemed to be all about science and timing and temperature, so I made sure I was well prepared, as I'm a girl scout at heart. Before I began, I laid out all my ingredients and all the necessary accoutrements. A candy thermometer was purchased days in advance to keep things in check. But because I didn't want to fail (and because I'm hopelessly superstitious), I also kept an icy glass of water by the stove so that I could double-check the candy stages by dropping the hot liquid into the water in order to test the process by feel as well as science. See, I'm all about keeping it real!
Well, my worries and advance prep were worth their weight in gold. I boiled the candy mixture and managed to get a nice caramel colour after what seemed like forever. When I ever-slowly added in the cream/butter/salt mixture to the sugar/water/syrup mix, there was a lot of bubbling up, but I kept my cool and managed to not let everything boil over. Again, it took a lot of patience to get the temperature high enough and lots of testing the softness/chewiness by adding a drop or two of the hot liquid into the cold water, but I finally reached the point where everything looked like it should. Success! When the mixture cooled off in the pan and I cut it into strips and again into small nuggets of caramel goodness, seeing the end product all wrapped up in waxed paper glory, I felt a definite sense of satisfaction! I conquered the candy making process and it was good!
And how did the caramels actually taste? Well, you'll have to judge that for yourself. Makes a perfect gift....if you can bear to part with them, that is.
fleur de sel caramels1 c whipping cream
5 T butter, cut into pieces
2 t fleur de sel (you may want to reduce to 1 1/2 t)
1 1/2 c white sugar
1/4 c corn syrup
1/4 c water
1. Lightly grease some waxed paper or parchment and line the bottom and sides of a square 8x8 baking dish.
2. In a small saucepan, bring cream, butter, and fleur de sel to a boil. Set aside.
3. In a larg saucepan, boil together water, corn syrup and white sugar, whisking gently until sugar is dissolved. Boil this mixture and swirl the pan slowly over the stove (don't stir!) until a rich caramel colour is achieved. My candy thermometer read about 300°F at this stage, but depending on your climate or range it could vary from 240°F to 350°F.
4. Very slowly pour in cream mixture (it will bubble up), stirring frequently over a rapid boil until caramel registers around 250°F on thermometer (or reaches the right consistency for your tastes via the water drop method)*, about 10 minutes. Pour into baking pan and cool 2 hours. Cut into small pieces and wrap in waxed paper, twisting the ends.
* The higher you boil the candy, the harder it will become. I like a chewy candy that isn't too soft, so I really liked using the water glass method so that i could actually taste test as I went along.
Labels: candy, caramel, fleur du sel, salty


