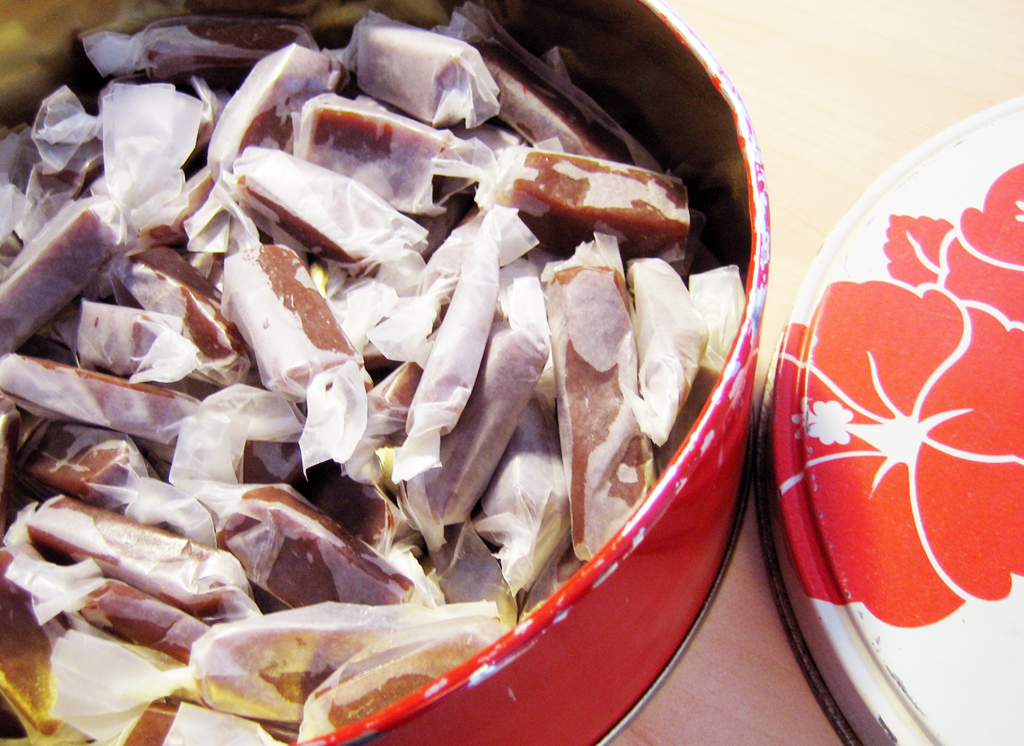
put the crack in cracker: chocolate-covered caramel crunch
 What more can be said about this super addictive snack (crack)? It's been written in about a hundred different places and it all started here. It's seriously good. Insanely addictive. Shall I go on?
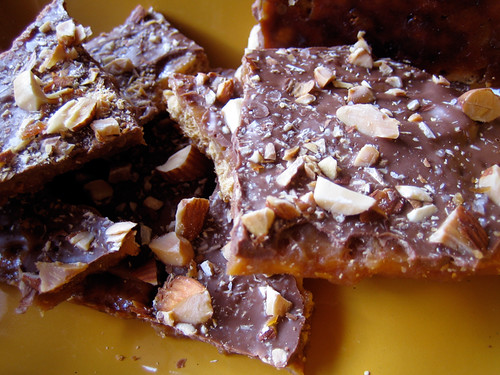 The crazy thing about this candy is that it uses Matzoh crackers. For reals. The only Matzoh I had on hand was the ground up meal (perfect for making matzoh balls), but not so good for making candy. So I turned to the next best thing in my cupboards: Stoned Wheat Thins. I actually had to run to my cupboards to double check this and yes, they are indeed, labeled "stoned". The drug-addled theme of this post is not lost on me!
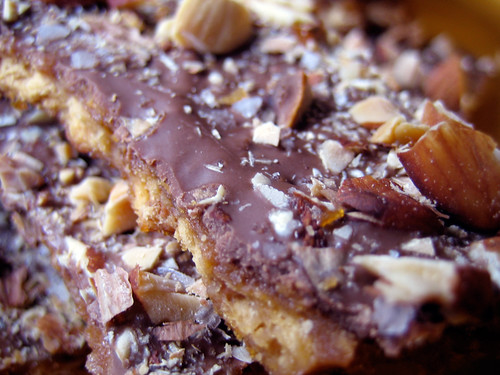 These are easy to make...in fact, too easy to make. No candy thermometer needed. Make a batch, share them with your friends and then pass along the recipe because they will ask for it. They taste like a homemade Skor bar and you'll find yourself going back for "just one more piece". Want to make this vegan? Get yourself some vegan crackers, some Earth Balance and your favorite vegan chocolate. Get hooked today!
chocolate-covered caramel crunch
enough crackers to line a baking sheet
1 c unsalted butter, cut into chunks
1 c packed light brown sugar
big pinch of fleur du sel (optional)
1/2 t vanilla extract
1 c semisweet chocolate chips
1 c toasted coarsely chopped almonds
1. Line baking sheet with foil, making sure you have enough to create a tall rim around the pan. Line pan with crackers, breaking up pieces if you have to, to fill in any cracks. Preheat the oven to 375F.
2. In a medium sized saucepan, melt the butter and brown sugar together over medium heat. Stir frequently until the mixture begins to boil. Boil for 3 minutes, stirring constantly. Remove from heat and add in vanilla. If you are using unsalted crackers, add in salt. Pour caramel over crackers and spread evenly with a silicone spatula.
3. Put the baking sheet in the oven, reducing heat to 350F. Bake for 15 minutes, watching carefully that the caramel does not burn.
4. Remove from heat and cover with chocolate chips. Let stand 5 minutes until chocolate melts and then spread evenly with a spatula. Sprinkle with toasted almonds and fleur du sel or whatever toppings you desire. Let cool completely and then break into pieces, storing in an airtight container.
Labels: almonds, candy, caramel, chocolate, crackers, passover, vegan