stranger than paradise: pizza with goat cheese, spinach and figs
 I really should make pizza all the time. It's so easy and it's utterly delicious. Unfortunately, it's those same reasons why it's best to show restraint. A lot of pizza really isn't that good of a thing, if you know what I mean.
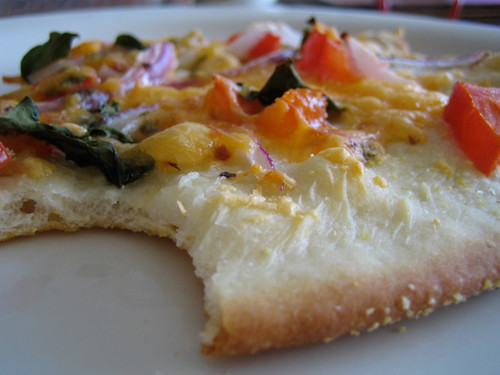
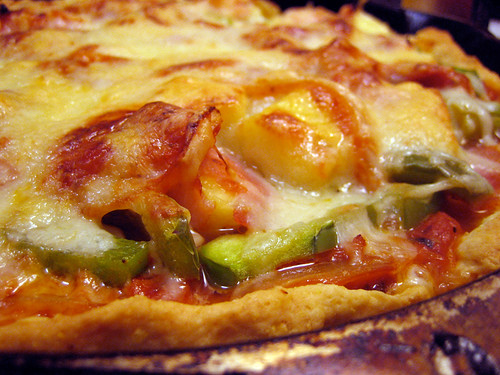
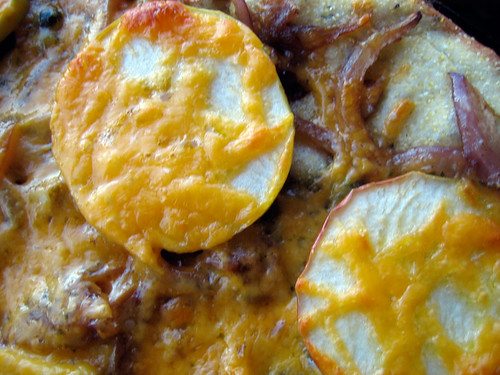
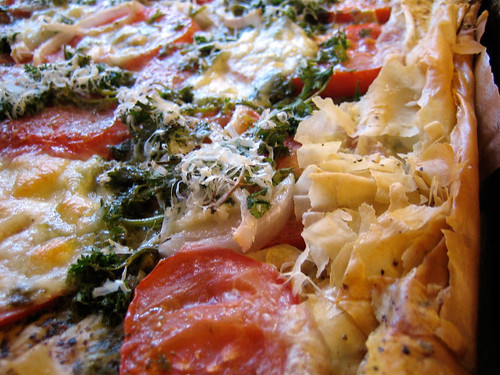
 I made this pizza earlier in the month when my fridge still had leftovers of holiday-type ingredients like goat cheese and figs and fancy hams.Salty, sweet and fan-freakin'-tastic, this pizza tasted better than anything I could have imagined. It's the kind of pizza I could eat everyday. In fact, both Cornelius and I inhaled the pizza in just one sitting. I remember the night well. We had a library-borrowed Criterion edition of my favorite Jim Jarmusch film on the tv (Stranger Than Paradise) and a couple glasses of a really nice red. Perfect.
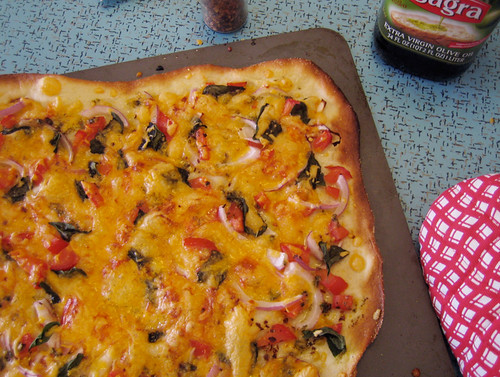
 The only wrench was in the making of the pizza dough which I found via Smitten Kitchen. Not that it turned out badly, it didn't. In fact, the final product was lovely and as close to perfect as any I've made in the past. But the making of it? A total bitch. It seemed so wrong, despite the fact that I made it in my Kitchen Aid mixer. The dough was more granite than elastic and it took my mixer for quite a thumpity-thump ride across my counter-top. But I let it rise a few hours and then I put it in the fridge overnight because I didn't trust it as it had given me such grief. But it all panned out in the end. The pizza dough tasted great, but I don't think I'll try that recipe again. Instead, I'll fall back on my old standby or try out something new for kicks.
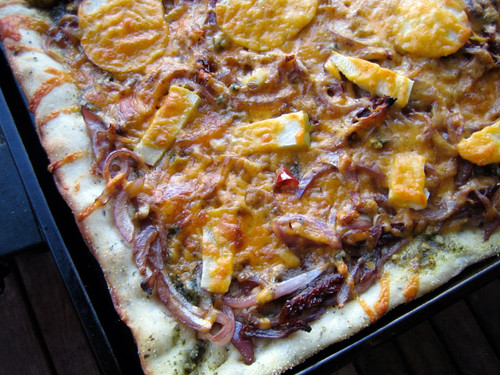
pizza with goat cheese, spinach and figs
1 recipe pizza dough or store bought
3 T pesto
1/2 bunch of spinach, washed & torn
1/4 sweet onion, sliced thinly
6 strips of Westphalia ham, torn
2 large dried figs, diced
1/2 log goat cheese
4 T Parmesan cheese
2 T sundried tomato oil (you know, the oil in the jar of sun dried tomatoes)
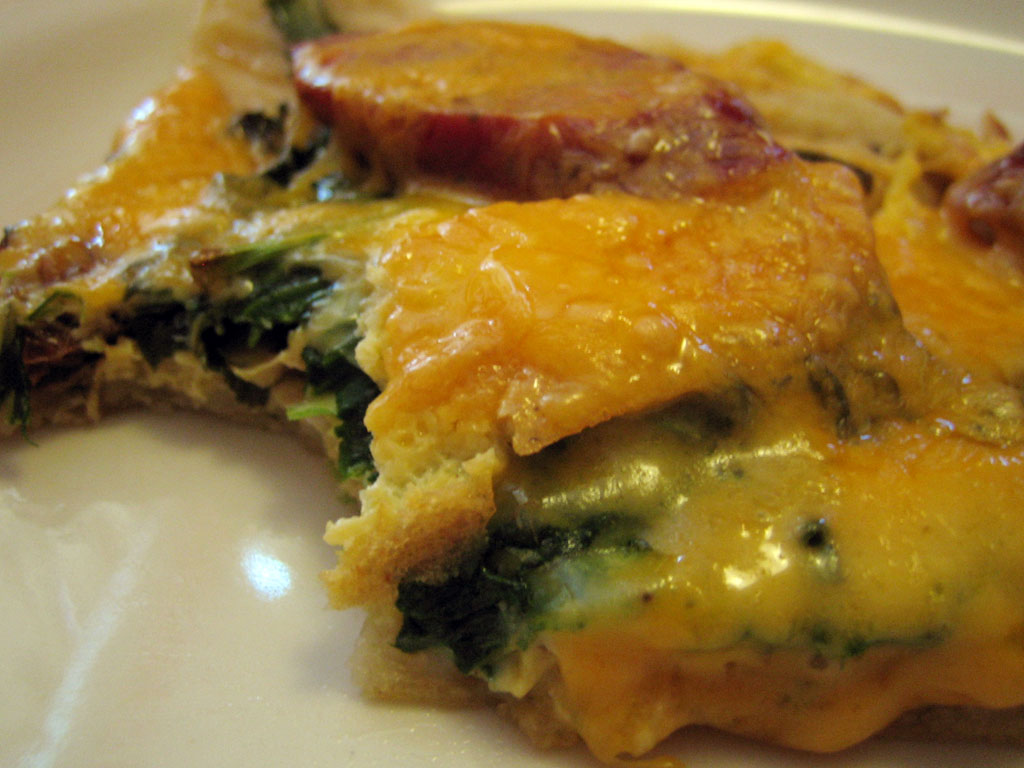
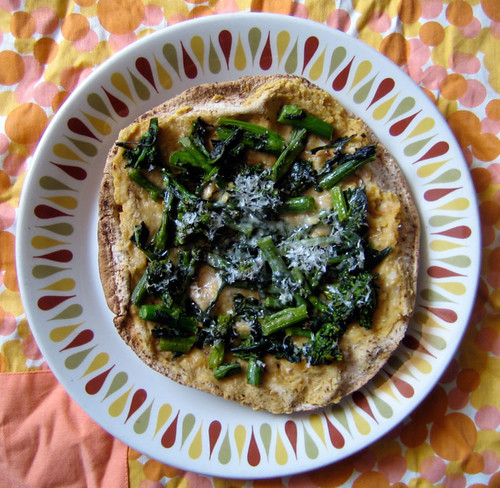
Prepare pizza dough into a baking sheet or pizza stone. Spread pesto evenly over top and scatter spinach leaves on top. Evenly scatter the onion slices, ham and figs over top and then pinch blobs of goat cheese over everything. Add Parmesan cheese over top and drizzle with the sundried tomato oil.
Bake for 10 minutes in a 400F oven or until sides brown slightly. Put pizza under the broiler for 1-2 minutes until goat cheese gets slightly golden. Remove from oven and dig in.
Labels: figs, goat cheese, ham, pizza, spinach